
Roof lanterns
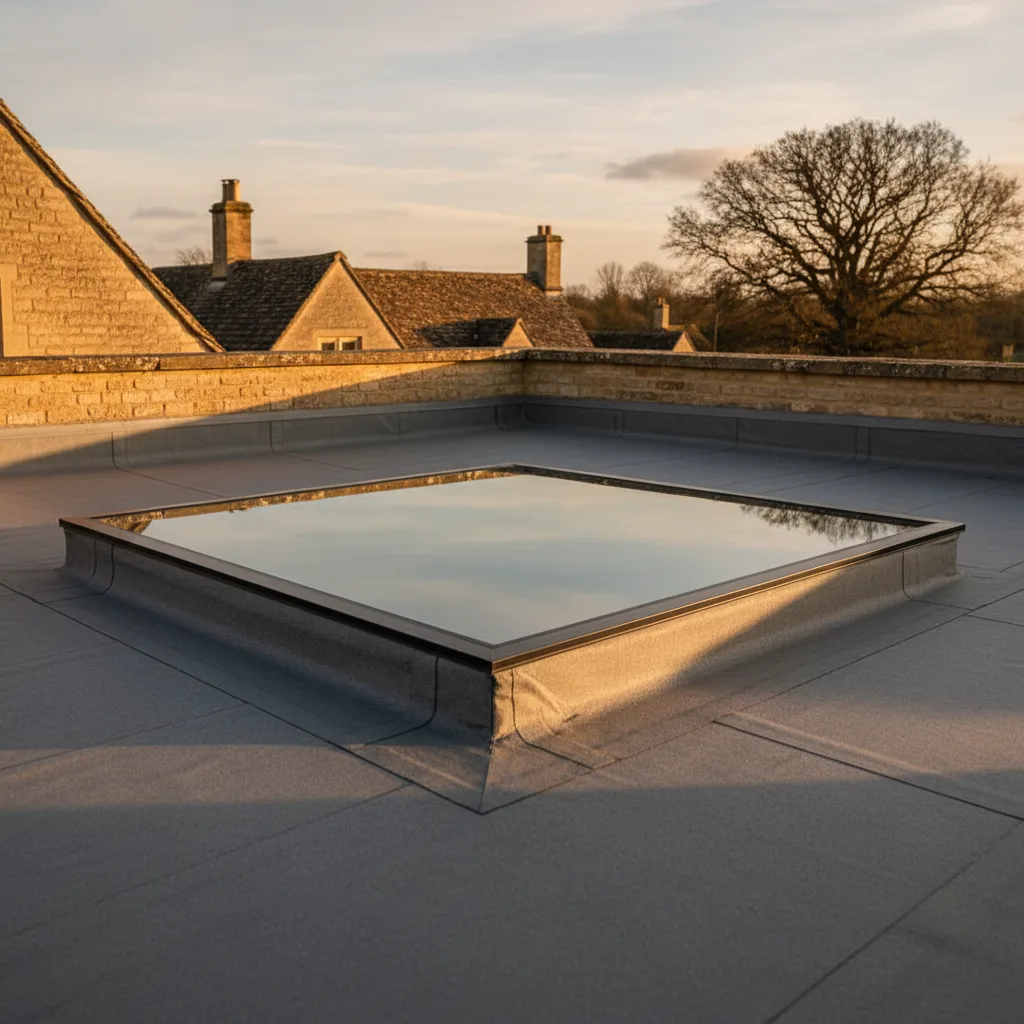
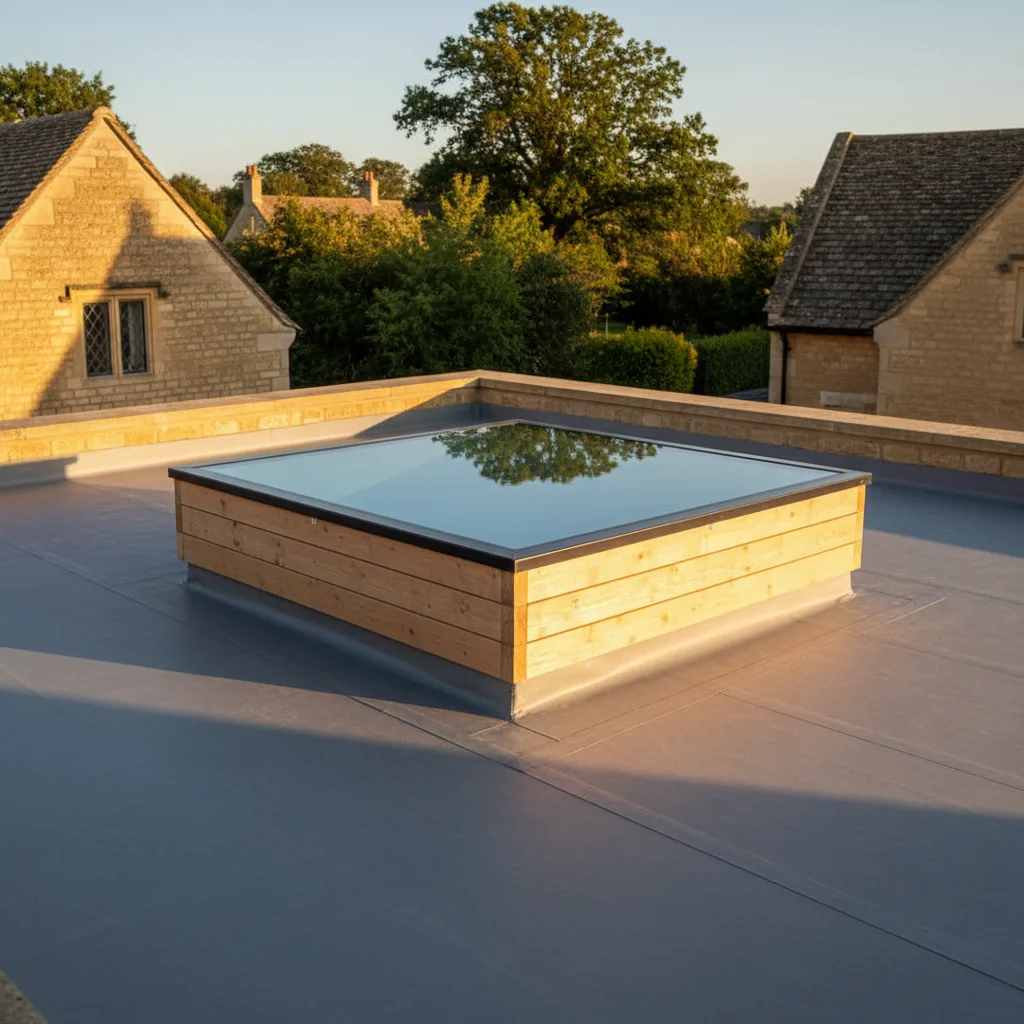
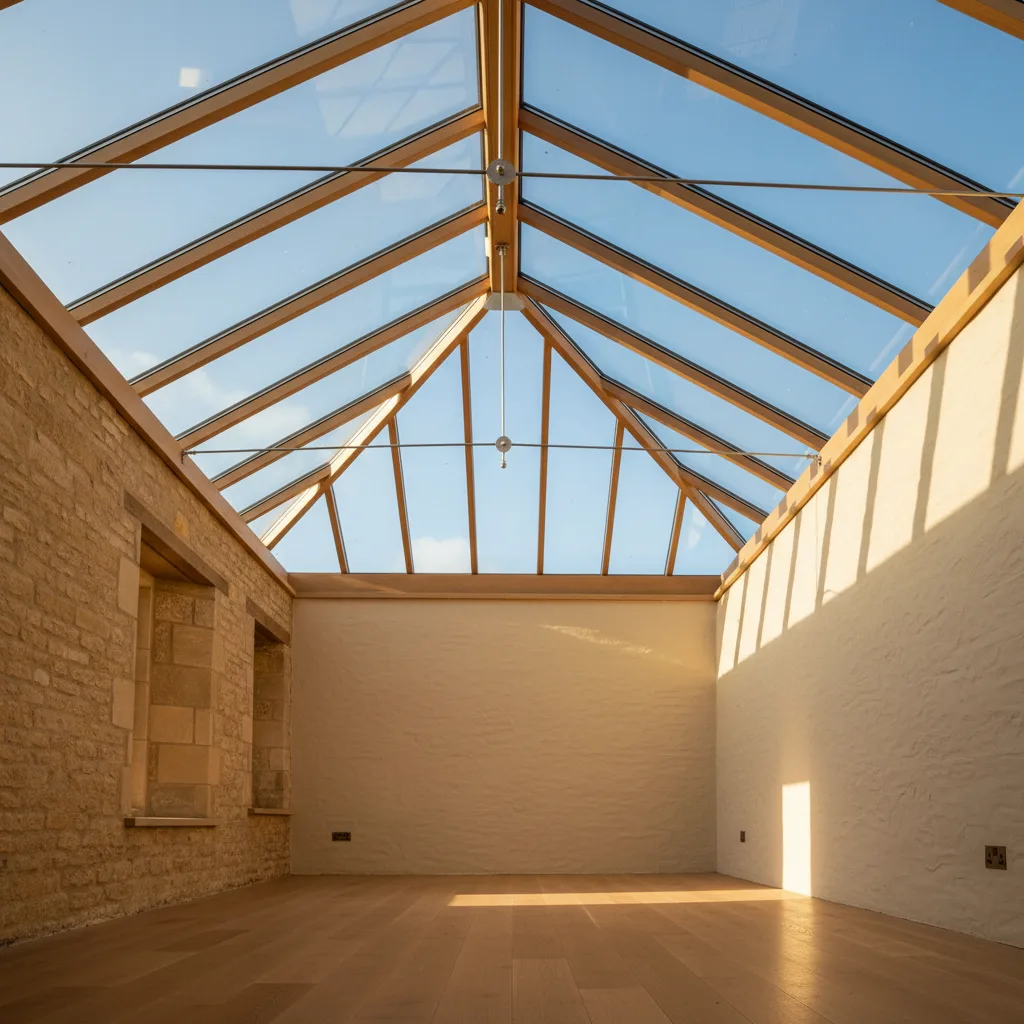
Over a rear extension, where the kerb detail decides whether it still holds in ten years.
We install and replace skylights, roof lanterns and flat-roof rooflights across Gloucestershire. Fifteen years of them, on Cotswold stone slate, clay tile, Welsh slate and single-ply flat roofs, all of which want handling differently.
We will come and look at it, and tell you honestly what it needs.
Over a rear extension, where the kerb detail decides whether it still holds in ten years.
Flush or upstand, on single-ply and felt. The falls matter more than the glass does.

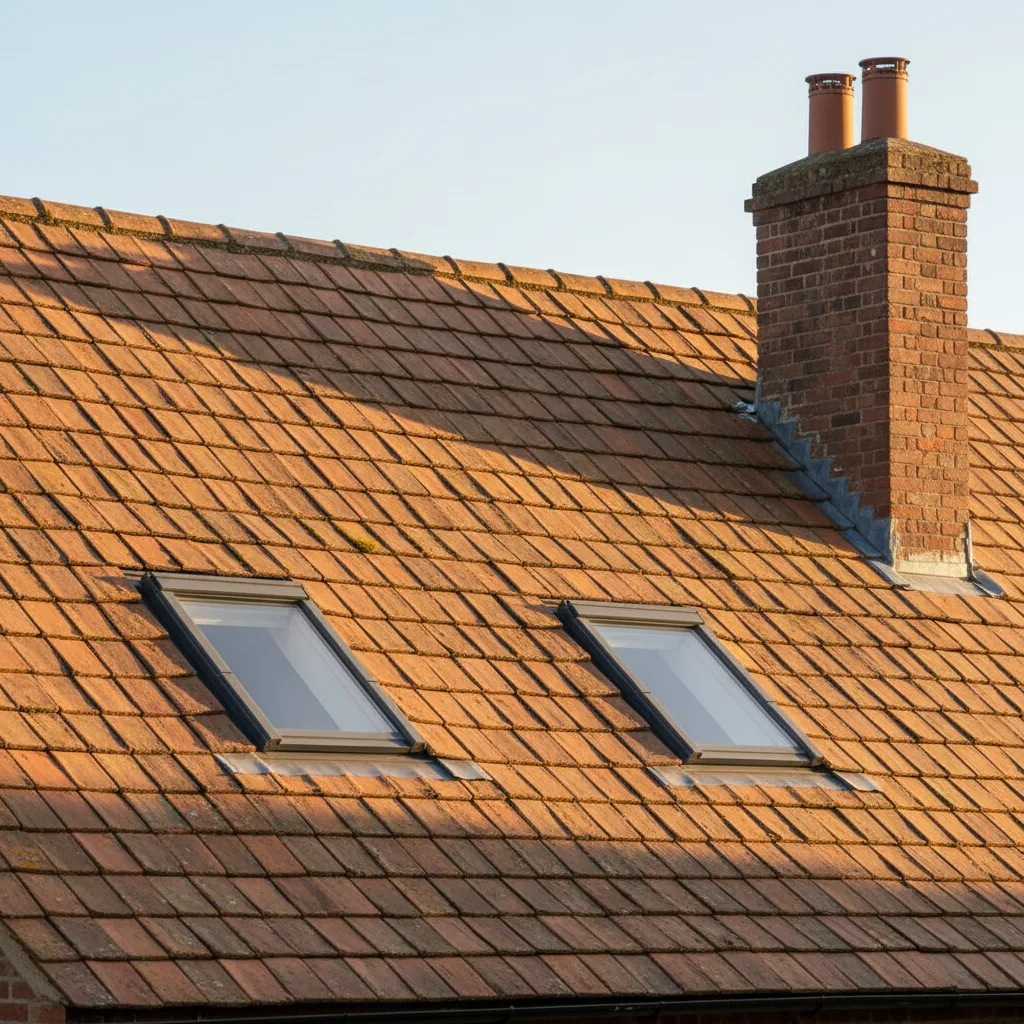
In a pitched slope, where the run of rafter you have decides the size you can have.

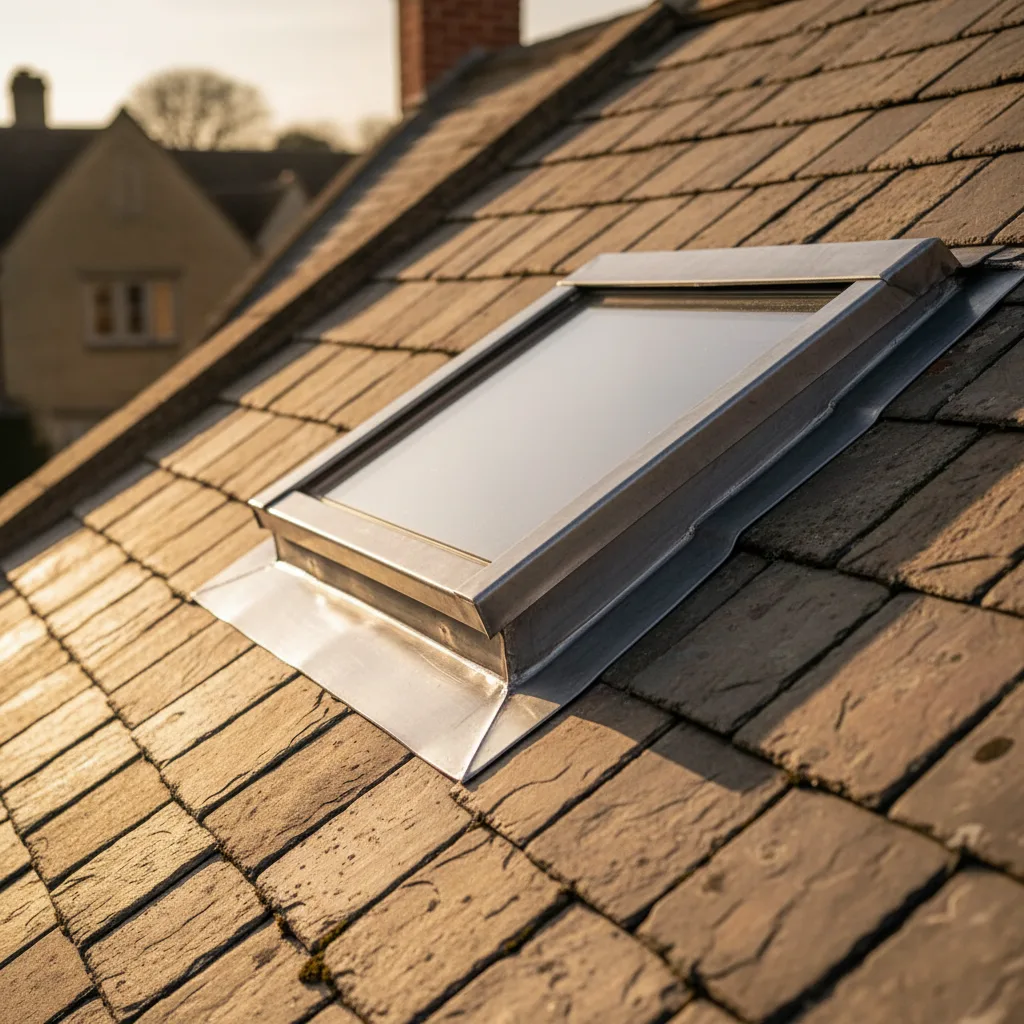
Flush in Cotswold stone slate, with a central bar, for cottages and anything listed.
Misted units, failed seals, and the older installations that were never detailed properly.
Rain sensors, wall switches and the wiring that has to be planned before the roof opens.
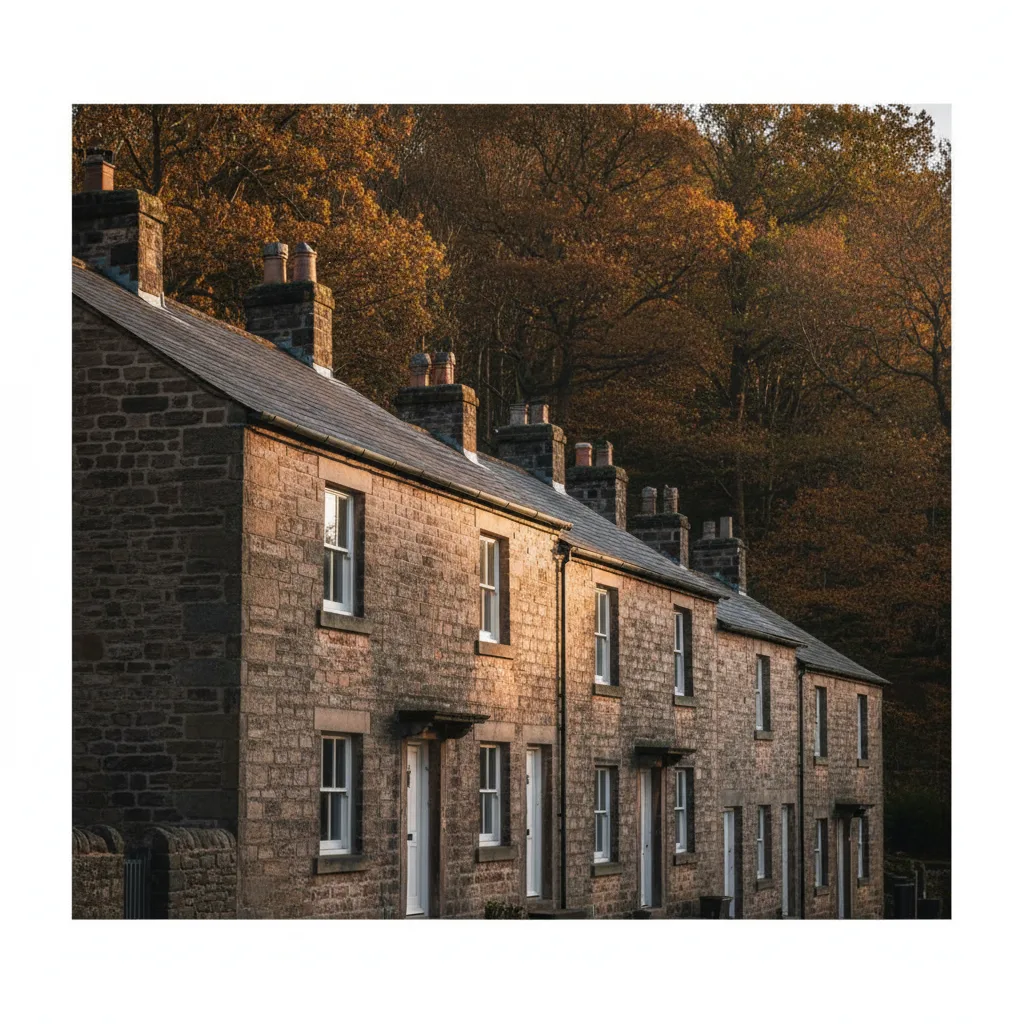

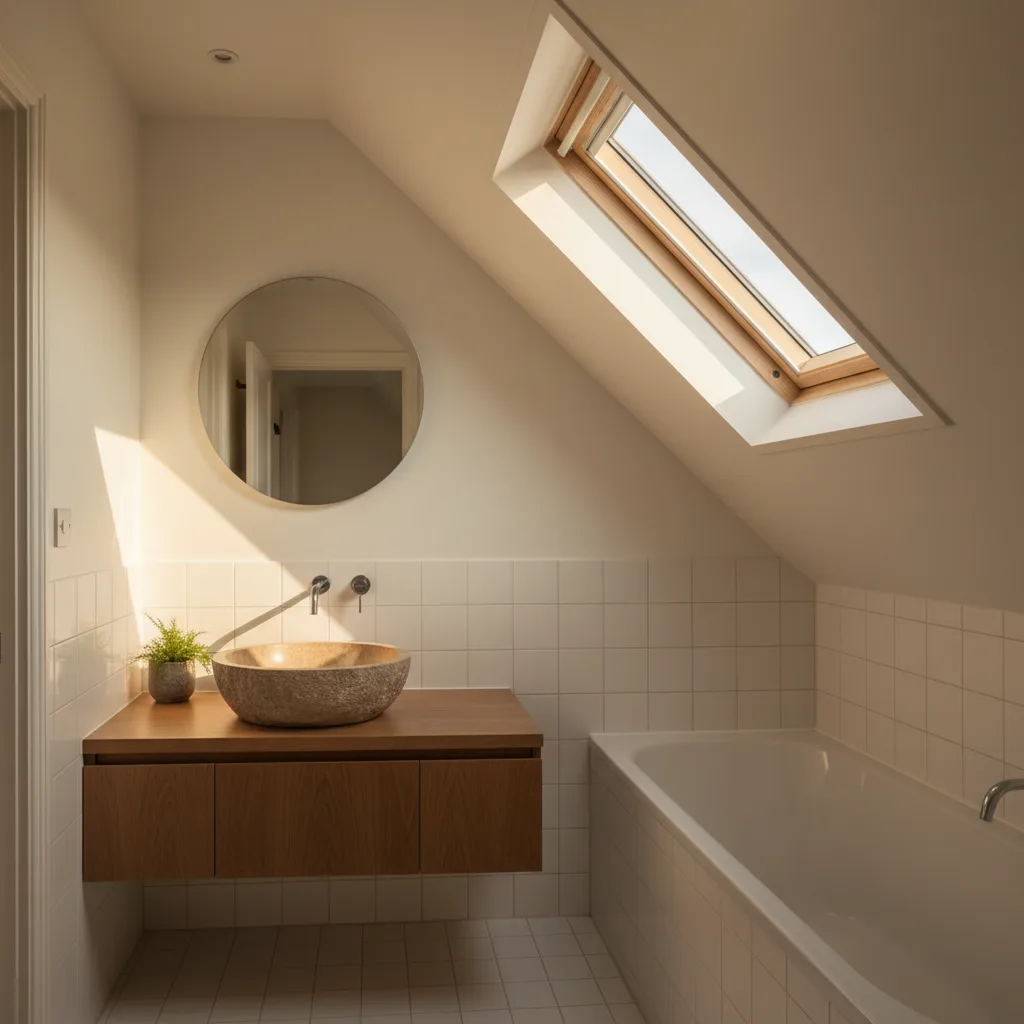
A survey, on the roof and in the room below. We work out what the structure allows before anyone talks about a product.
An indicative range by email first, then a fixed price once the survey is done. The second figure is the one that holds.
Trimmed, kerbed or upstood, and weathered into whatever the roof is covered with. The roof is never left open overnight.
The reveal is splayed and made good, so the light spreads instead of falling down a box. Building Control is notified as part of the job.
The unit itself carries its own manufacturer's warranty and rarely fails early. What fails early is the detailing around it, which is invisible once the job is finished and is the part we are responsible for. So that is the part we guarantee for 10 years.
Send a photograph of the roof and rough measurements and an indicative range comes back by email.
Everything below is the job in full, written out rather than summarised.
Severn Skylights Gloucester installs and replaces skylights and rooflights across Gloucestershire and thirty miles by road around the city. Fifteen years of it, on Cotswold stone slate, clay plain tile, Welsh slate, concrete interlocking tile and single-ply flat roofs, all of which want handling differently. Two halves of one trade sit on this page in full detail: putting a new opening into a roof that has never had one, and taking out a unit that has reached the end of its life so the roof ends up better detailed than it was when it was built. The technical part is here rather than behind a form, because the roof you already have decides most of what follows, and it is worth knowing that before anybody puts a ladder against the wall.
Skylight is the everyday word. It covers anything glazed set into a roof, it is what people type into a search box, and it tells an installer almost nothing about the job. The other three are specific.
A roof window sits in the plane of a pitched roof, in line with the covering, and opens on a centre pivot or a top hinge. It comes in fixed manufactured sizes with a matching flashing kit for the covering it is going into. VELUX, Fakro, Keylite and Roto all make them, and the size codes are how a survey gets turned into an order. Most are rated for pitches from about 15 to 90 degrees. Details are on the roof window installation and VELUX window installation pages.
A rooflight, in trade use, is a unit for a flat or nearly flat roof. It sits on a kerb built up above the roof surface, the glass is usually one plane set at a shallow angle, the frame is slim aluminium, and the sizes are commonly made to order rather than picked off a list. That is the flat roof rooflight job.
A roof lantern is a framed structure with several sloping glass planes rising to a ridge or an apex. It also sits on a kerb, but it adds height and volume to the room below, and it is heavier and more involved to set out. See roof lantern installation.
A conservation rooflight is a fifth thing, and Gloucestershire has more of them than most counties. Cast or pressed steel frame, one central glazing bar, low profile, designed to sit almost flush in a thick slate roof. The reason it exists is buried in the way Cotswold roofs are built, and that is covered further down.
Severn fits new rooflights into roofs that have never had one, and replaces units that are finished. Both jobs run the same way: survey, structural opening, unit, weathering, insulated internal reveal, plaster, and the Building Control notification submitted and closed out.
The products fitted are manufactured roof windows from VELUX, Fakro, Keylite and Roto, made-to-size flat roof rooflights, and roof lanterns. Beyond the standard fixed and manual opening units there are electrically operated ones with rain sensors, useful where a unit is out of reach above a stairwell, covered under electric rooflight installation. There are walk-on units where a terrace sits over a room, on the walk-on rooflight page. And there are sun tunnels, which get daylight into a windowless landing, hallway or bathroom by running a reflective tube from a small dome on the roof down through the loft, described under sun tunnel installation.
Replacement has its own page at skylight replacement, and the deeper technical sections on failed units, misting and glass upgrades sit on this page rather than there, because they belong with the installation detail they depend on.
The workmanship carries a ten-year guarantee. The glass and the frame carry the manufacturer's own warranty, which is a separate document with its own terms, and the survey notes explain which is which.
A survey takes about forty minutes for a single roof window and longer for a lantern. Inside the roof void or the room, the rafter or joist centres and their depth get recorded, along with the pitch off a digital level, the position of any purlin, binder, strut or collar, and anything already routed through the space: a water tank, a soil vent pipe, cabling, a flue. Insulation depth and type get noted, and whether there is a ventilation gap above it.
Outside, the covering is identified properly. Not "slate" but Welsh slate at a stated size with a measured headlap, or Cotswold stone slate in diminishing courses, or a concrete interlocking tile with a 75mm minimum lap. Batten gauge is measured. The condition of the underlay is checked at the eaves and at any existing opening, because a brittle 1930s bitumen felt behaves differently from a modern breather membrane.
Then the practical part: how scaffold gets to the elevation, whether a lorry can turn in the lane, where the glass can be lifted from, and how far the internal finish has to be taken. Everything on that list can change the price, which is why the price comes after it.
The opening is set out from inside first, so the reveal lands where the room wants it rather than where the rafters happen to be convenient. The position is transferred outside by drilling through at the corners, and the covering is stripped back from there.
In a traditional cut roof, one or more rafters are cut and doubled trimmers are fixed across the head and the cill of the opening. The load from the cut rafter transfers into those trimmers, and the trimmers transfer it into the rafters either side, which now carry more than they were designed for. Over one rafter bay that is routine. Over two or three bays it is a calculation, and the answer is sometimes a deeper timber trimmer, sometimes a flitch plate, sometimes a small steel. Where that is the case the calculation goes in with the Building Control application.
A trussed roof works differently and the rule is simple: the webs and the chords are part of a triangulated structure held with punched nail plates, and they stay whole. An opening either fits between two trusses or it needs a designed trimmer with the affected truss supported off it.
On a flat roof, the standard upstand is 150mm measured from the finished surface of the waterproofing at the highest point of the fall, not from the deck and not from the lowest corner. That number exists because standing water, snow and wind-driven rain all climb, and 150mm is the height at which they stop climbing. The kerb is built in treated timber, insulated on the outside face so it does not become a cold ring around the glass, and the waterproofing is dressed up the kerb and over the top so the upstand becomes part of the roof rather than a joint fighting against it.
Falls matter as much as height. A flat roof is designed to fall at around 1:40 so that after deflection and normal timber movement the finished fall is still no shallower than 1:80. Anything flatter ponds, and a pond that sits against an upstand for six months of the year will find any weakness in it. Where an existing roof already ponds against the position a customer wants, the honest answer is that the deck needs re-falling first, and that gets said at survey.
The glass itself is set at a minimum of about five degrees on most made-to-size units. Below that, rain does not shed, dust stays on the glass, and the unit looks dirty within weeks.
On a pitched roof the covering terminates against a flashing set: an apron at the cill, side soakers or a continuous side flashing, and a head flashing dressed under the course above. Manufactured kits come matched to the covering profile, and the kit for a plain tile is not the kit for a pantile, which is not the kit for a slate.
Lead is code 4 for most flashings and code 5 where it is exposed or forms a gutter. Head lap is a minimum of 150mm and more on a shallow pitch. Every piece is fixed at the head only, so it can expand and contract along its length. Lead nailed down both sides tears itself apart within a few winters, and cracked lead along a fixing line is one of the most common findings when an old unit comes off.
Underneath all of it, the underlay is cut and dressed rather than slit. A tongue of membrane is taken up over the head of the frame and stapled to the batten above, and the side pieces are dressed into the frame's own drainage channel. The point is that any water crossing the covering, which some always does, lands on the membrane and runs down outside the frame. That detail is invisible for the whole life of the roof and it is the one that decides whether a mark ever appears on the ceiling.
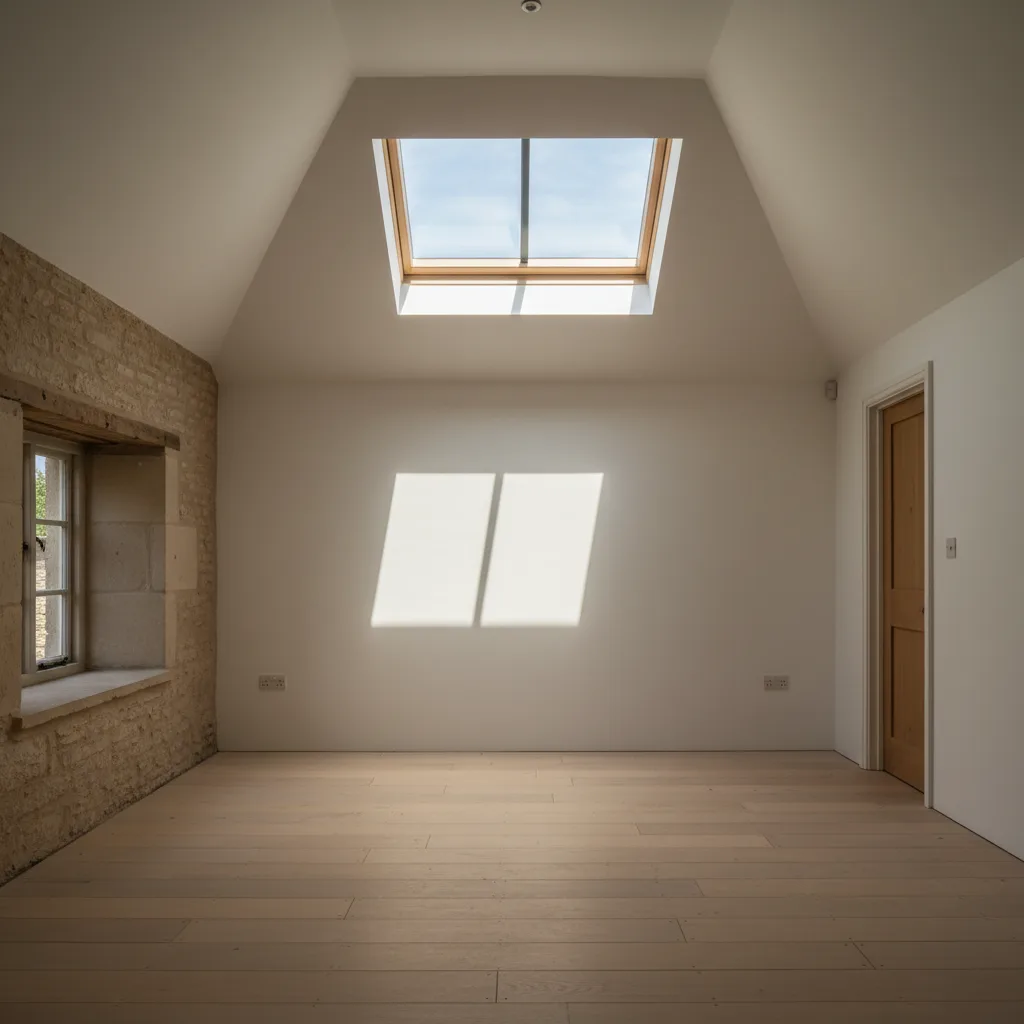
The reveal is the plastered box between the frame and the room. Built well it doubles the amount of daylight that reaches the floor. Built badly it grows mould in the top corners.
The convention is a vertical lining above the window and a horizontal lining below it. Vertical at the head throws light deeper into the room. Horizontal at the cill lets warm air from a radiator underneath rise straight up the face of the glass, which is the cheapest condensation control there is. Splaying the two sides widens the beam of light. It costs another half day of carpentry and plastering, and on a north-facing room it is the difference between a bright room and a lit one.
Insulation runs continuously around the frame, tight to it with no voids, and the vapour control layer is taped to the frame rather than trimmed short of it. A 20mm gap of nothing behind the plasterboard at the head of a roof window is a cold bridge, and cold bridges are where black spotting appears in February.
Scaffold or a tower goes up first, and inside, floors and furniture are covered before anything is cut. The covering is stripped back and stacked for re-use, the underlay is cut, the opening is formed and trimmed, and the unit is set, fixed and flashed. The covering is then re-laid into the flashings. On a straightforward roof window in an accessible pitch that is one day outside, with the reveal, insulation and plaster following on a second day.
The roof is never left open overnight. That governs the sequence rather than the other way round: an opening is not started unless it can be closed and made watertight the same day, and if the forecast turns during the morning the outside work stops at a point where the roof is whole. Where several units are going in, the sequence runs from the top of the slope downwards so every evening ends with a closed roof. A lantern needing structural work is planned as a longer job with the deck sheeted and weathered at the end of each day.
The unit is the small half of the job. Four details decide whether an installation is still dry in twenty years, and all four are buried by the time anyone sees the finished work.
None of them can be inspected once the job is finished, which is exactly why they get skipped by people in a hurry. The ten-year workmanship guarantee is written against those four, because they are the ones the workmanship controls.
| Covering | Typical pitch | What forming the opening involves | What to watch |
|---|---|---|---|
| Cotswold stone slate | 45 to 55 degrees | Courses taken back up the slope and re-laid to the original gauge, with reclaimed slates sourced to match size and colour | Diminishing courses and mortar torching. Conservation unit almost always the right answer |
| Welsh slate | 25 to 45 degrees | Slates carefully lifted, side soakers interleaved course by course, head flashing dressed under the course above | Headlap on shallower pitches. Old slates are brittle at the nail holes |
| Clay plain tile, double lap | 35 to 45 degrees | Tiles lifted a long way up the slope because of the double lap, then a purpose-made flashing kit for a flat profile | Nibs snapping on old tiles. Sourcing matching handmade tiles takes time |
| Clay pantile | 22 to 35 degrees | Profiled soakers dressed into the tile roll, and a wider side flashing than a flat tile needs | The roll means water travels sideways. Cut tiles at the side of the opening need mechanical fixing |
| Concrete interlocking tile | 25 to 35 degrees | The most straightforward: standard flashing kit, tiles unclipped and re-laid | Hips shorten the usable run of slope. Verges and valleys limit position |
| Single-ply, EPDM or built-up felt | Flat, 1:40 designed fall | Insulated timber kerb built on the deck, membrane dressed up and over, unit set on the kerb | Existing falls and ponding. Where the outlet sits relative to the new kerb |
| Lead or zinc mansard, shallow upper slope | 5 to 15 degrees | Kerb-mounted unit rather than an in-plane roof window, because the pitch is below the roof window minimum | Standing seams and welts. Parapet gutters and their outlets constrain the position |
This is the biggest technical difference between Gloucestershire and almost anywhere else, and it is the reason a Cotswold job is priced differently from an identical unit going into a semi in Longlevens.
Cotswold stone slate is not a repeating module. The slates are graded by size and laid in diminishing courses: the largest and thickest at the eaves, getting progressively smaller and thinner up the slope to the ridge. Every course is a different depth from the one below it, and the gauge changes continuously. The old yard names for the sizes survive, running from Cussomes at the eaves through Muffities and Wivetts to the small slates near the ridge. Underneath, they are hung on riven battens and the joints between them are commonly sealed from below with a lime mortar torching mixed with animal hair, often with no underlay at all.
What that means in practice is that an opening cannot be cut through the roof and closed up around a frame. The courses above the opening have to be stripped back up the slope, the frame set, and the courses then re-laid downwards, re-establishing the diminishing gauge so the finished roof reads correctly. Slates come out broken, so reclaimed stone is sourced to match thickness and weathering colour. New stone stands out against a two-hundred-year-old roof for a decade or more, which is why matched reclaimed material is worth the wait.
The slates are also thick, commonly 20 to 30mm, and the roof loading runs well over 100 kilograms per square metre. A standard roof window frame and its flashing kit are made for a covering a fraction of that thickness, so a conventional unit sits proud and reads as a modern object bolted onto an old roof. A conservation rooflight has a slim cast frame, a single central glazing bar and a profile designed to sit nearly flush with a thick slate, and that is the whole reason the product exists. The conservation rooflight page covers the sizes and finishes.
Torching is the other conversation. Once disturbed it cannot be put back exactly as it was, so the replacement detail, usually a breather membrane on counter battens, is agreed with the conservation officer rather than decided on the scaffold. Roofs like this run through Painswick, Bibury, Northleach, Chipping Campden and the wolds villages between them.
Central Cheltenham is stucco, sash windows and Welsh slate, and a great deal of it is mansard: a steep lower slope you can see from the pavement, and a shallow upper slope you cannot see at all because a parapet hides it. Lansdown, Montpellier, Pittville and the Bath Road terraces are full of them.
That geometry changes the consent conversation more than anything else in the county. On a listed building, consent is required for an alteration whether or not it can be seen. But visibility strongly affects what a conservation officer will accept, and a rooflight on a hidden upper slope is a very different proposition from one on the steep visible face. It is worth going up with a camera on a pole before assuming anything, because plenty of these roofs already have Victorian or Edwardian openings on the flat that nobody on the street has ever noticed.
Technically the shallow upper slope is often below the minimum pitch a manufactured roof window is rated for, so the unit becomes a kerb-mounted one on a small upstand rather than an in-plane window. The lead flats and parapet gutters behind these facades are also usually the real constraint: the position has to leave the gutter falls and the outlets alone, and on a terrace those outlets are frequently shared with next door.
Gloucester's Victorian and Edwardian terraces, Tewkesbury, Longford and the vale villages share a shape: red brick, clay tile or slate, and a two-storey rear addition one room wide with a lean-to roof at 22 to 30 degrees over it. The kitchen is usually underneath, it usually has one small window, and it is usually the darkest room in the house.
The catch is the run of slope. A rear addition roof often gives only 1.8 to 2.4 metres from gutter to abutment. A standard roof window plus the flashing lap it needs above and below eats most of that, so the choice is a smaller unit set high, two small units, or a made-to-size rooflight on the flat area where the addition meets the back of the house. Getting this wrong is how a unit ends up with 200mm of tile above it and a head flashing that has nothing to lap under.
There is also the flood history. Homeowners along the Severn and the Avon have watched water come into their houses, most memorably in 2007, and they are rightly sceptical of anyone cheerful about putting a hole in a roof. That scepticism is reasonable, and the answer to it is the perimeter detail set out above, plus a job sequence where nothing is ever open at the end of a day.
Coleford, Cinderford, Mitcheldean and Lydney are built of local sandstone, much of it in former mining terraces with thick walls and steep roofs at 40 to 45 degrees. The covering is usually Welsh slate in a small format with a generous headlap, sometimes over sarking boards rather than open battens.
Two things follow from that. First, the Forest is wetter and windier than the vale, and driving rain arrives from the south west with force behind it, so head laps get increased over the manufacturer's minimum and side flashings are taken wider. Second, a steep pitch changes the geometry inside: the reveal becomes a taller box, the top of the frame sits further above floor level, and reaching an opening handle from standing height stops being realistic. That is where a rod-operated or electrically operated unit earns its place.
A steep pitch also means more of the unit is visible from the road below than on a shallow roof, which matters for the terraces inside the Forest's conservation areas.
Longlevens, Hucclecote, Tuffley, Warden Hill and Charlton Kings are mostly interwar and post-war semis and detached houses with hipped roofs at 30 to 35 degrees, covered in concrete interlocking tiles. Structurally these are cut roofs with purlins and struts, so rafters can be trimmed, which makes them among the most straightforward roofs to work on.
The constraint is the shape. On a hip, the slope narrows towards the corner, so the usable rectangle is much smaller than the roof looks from the garden. Add a purlin across the middle at about mid-height and a binder in the ceiling, and the clear zone on a typical interwar rear hip is often around 1.2 metres of vertical run across two rafter bays. People arrive expecting one large window and the roof will only take a shorter one.
The good answer is usually two units in adjacent bays rather than one wide one. Two openings between existing rafters need no structural design, deliver more glass in total, and light the room more evenly than a single unit in the middle. It also avoids the situation where the only way to fit the window somebody has already chosen is a designed trimmer and a Building Control structural submission.
Quedgeley, Abbeydale, Brockworth, Bishops Cleeve, Ashchurch and Yate are largely trussed rafter construction: factory-made triangulated frames at 600mm centres, joined with punched metal nail plates, designed as a whole. Cut a web to make room for a window and the load path changes, the truss deflects, and the damage shows up as a sagging ceiling line months later rather than as a bang on the day.
So the opening works with the trusses. Between two trusses at 600 centres there is around 550 to 570mm of clear width, and the manufacturers make narrow units precisely for that: 550mm wide by 780, 980 or 1180mm long. A unit in that range needs a head and cill trimmer between the two trusses and nothing more. Two of them in adjacent bays give a good result on a rear slope.
Anything wider means removing part of a truss and carrying it on a beam that spans to the trusses either side, which is a structural engineer's calculation, a deeper timber or steel member, and a Building Control approval before the covering comes off. That is achievable and it is regularly the right thing to do for a loft room. It is simply a different job from a same-day window between trusses, and it gets described that way at survey rather than discovered halfway through.
Attic trusses, used on newer estates where the loft was designed as a room, have a clear rectangle in the middle by design, and openings in those are usually straightforward.
The Stroud valleys are steep, and the houses are built into them. Terraces step up the hillside so a cottage is one storey at the front and three at the back. Access is by shared lane, footpath or a flight of steps, retaining walls sit right against the elevation, and there is nowhere flat to stand a tower.
Being straight about it: scaffold often has to be hand-carried in, sometimes a long way, and a lantern's glass may need extra hands or a mechanical lift where a lorry cannot get within fifty metres. That takes longer and it costs more. It is priced from the survey with the access looked at properly, so the figure holds rather than moving once the crew arrives and sees the lane.
The upside is that these are the houses where a rooflight does the most work. A cottage cut into a bank, with a blank retaining wall behind it and neighbours tight on both sides, has no elevation left to put a window in. Daylight from above is the only daylight available, and in Chalford and Rodborough that is a genuine change to how a house feels rather than an upgrade.
Almost every enquiry about an existing rooflight starts with water or a mark, and the useful first question is whether the problem is inside the glass, outside the glass, or in the plaster around it. Those are three different jobs.
| What you are seeing | Most likely cause | What it means for the work |
|---|---|---|
| Cloudiness or streaks between the panes that never wipe off | The edge seal of the sealed unit has failed and the cavity has taken on moisture | New glass unit, or a new complete unit where the frame is the same age |
| Water running down the inside face of the frame, only during and after rain | Weathering at the head or side flashing, or underlay slit rather than dressed around the frame | Covering taken back, flashings and membrane re-detailed, then made watertight |
| Droplets on the room side of the glass on cold mornings, gone by midday | Condensation. Humid air meeting the coldest surface in the room | Ventilation and reveal geometry, not a defect in the unit |
| A damp mark in the plaster at the top corners of the reveal, worst in winter | Cold bridge where insulation stops short of the frame | Reveal opened up, insulation and vapour layer reinstated tight to the frame |
| Water only when wind drives rain from one particular direction | Side flashing lap too small, or the upstand is lower than it should be | Upstand rebuilt or flashings re-set with a longer lap |
| The unit is stiff, drops out of square, or will not latch | Frame distortion, worn hinges, or deflection in the trimmer under it | Structure checked first, then the unit replaced into a corrected opening |
| Draught, whistling, or daylight at the edge of a closed unit | Perished gaskets on a unit at the end of its service life | Whole unit replaced, and the perimeter brought up to current detail |
| Water at the low corner of a flat roof unit after heavy rain | Ponding standing against the kerb because the fall is too shallow | Falls corrected in the deck before any new unit goes on |
A sealed unit is two or three panes of glass separated by a spacer bar, with a desiccant inside the spacer to absorb the small amount of moisture trapped at manufacture, and two seals around the edge: a primary butyl seal that stops vapour, and a secondary structural seal that holds the sandwich together. When the primary seal fails, humid air migrates into the cavity, the desiccant saturates, and from then on the cavity fogs whenever the outer pane is cold. That is what misting is.
Rooflights reach that point sooner than vertical windows, for reasons that are all about their position. The glass takes direct sun for hours, so the seal cycles through a bigger temperature range every day. It sits nearly horizontal, so rain lies on it and the edge seal spends more of its life wet. And ultraviolet exposure on a roof is simply higher. Fifteen to twenty-five years is a normal service life for an older unit in a roof, and the failures often arrive in a group because the whole roof was glazed on the same day.
There is no way to dry the cavity out again, and any product that claims to is selling a hole drilled in a piece of glass. The real choice is a new sealed unit into the existing frame, which works where the frame is sound and the glass is a standard size, or a new complete unit. On a timber roof window past twenty years old the gaskets, the sash and the flashing kit are all at the same stage as the glass, so the whole unit is usually the better outcome and rarely much more work.
A like-for-like replacement uses the existing structural opening. The old unit comes out, the frame is checked, the perimeter is re-detailed to current standards, and a new unit of the same size goes in. It is the quickest version of the job, the internal plaster usually survives untouched, and no structural work is involved. Manufacturers changed their frame profiles over the years, so a modern unit of the same nominal size does not always land on the same fixing line, and that gets checked at survey against the size code stamped on the old sash.
Changing the size is a different piece of work. Going wider means trimming another rafter, or on a trussed roof, a designed member. Going taller is often easier than going wider because it stays within the same rafter bay, though it may run into a purlin at the head. Either way the internal reveal is rebuilt and re-plastered, the ceiling line changes, and decoration follows.
It is worth asking the question rather than defaulting to like-for-like. Where the roof is already open and the scaffold is already up, the extra cost of a taller opening is much lower than it would be as a separate job later, and a 1980s unit is often noticeably smaller than what the same room would be given today.
The interesting part of a replacement happens in the ten minutes after the old unit is lifted out. What is commonly found: the original underlay brittle and torn back from the opening, sometimes cut in a straight slit and never dressed; a timber trimmer with historical staining and the ghost of an old water run down one side; insulation compressed flat or missing entirely for 100mm around the frame; battens split where the original fixings went in; lead face-nailed down both sides and cracked along the nail line; on flat roofs, a plastic dome sitting on an uninsulated softwood kerb, sometimes untreated, sometimes with the felt turned up but not over.
Occasionally the original opening has no trimmer at all: a rafter cut, the unit screwed to what was left, and thirty years of hoping. That is a structural finding, and it gets put in writing with a price to correct before the new unit goes anywhere near it.
What happens then is the useful part. Underlay is renewed locally and dressed properly around the new frame. Timber is checked with a moisture meter and anything soft is cut out and replaced in treated stock. Insulation is reinstated tight and continuous, the vapour layer taped to the frame, and the kerb rebuilt where it is not sound. This is why a replacement takes as long as a new installation and sometimes longer, and why the finished job is drier than the one it replaced.
A replacement is the one moment when a glass upgrade is nearly free of extra labour, because the frame is coming out anyway. The difference over twenty-five years of product development is large. A 1990s double-glazed roof window sits somewhere around 2.8 to 3.0 W/m2K. A current manufactured roof window runs around 1.0 to 1.4, and a good made-to-size flat roof unit can be near 1.0, with triple glazing lower again.
Coatings do the rest of the work. A low-emissivity coating on the inner pane reflects long-wave heat back into the room. A solar control coating on the outer pane cuts the heat coming in, which matters on any south or west facing roof and matters enormously on a loft room, where the glass is overhead and the sun is on it at the hottest part of the day. Solar control units bring the g-value down from around 0.5 to roughly 0.25 to 0.3, and on a west-facing conversion that is the difference between a usable summer bedroom and an unusable one.
Safety glazing is not optional in a roof: a toughened outer pane, and a laminated inner pane wherever there is habitable space, a stairwell or a bath underneath. Laminated glass has a second benefit that surprises people, which is rain noise. A 6.8mm laminated outer on a shallow flat roof unit noticeably reduces the drumming that a single sheet of toughened glass makes in heavy rain. Where a unit is high above a stairwell and cleaning it is unrealistic, a self-cleaning outer coating is worth specifying. The energy efficient rooflights page goes further into the numbers.
Where a roof has three or four units of the same age, replacing them together is materially better than replacing them one at a time. One scaffold, one Building Control notification, one set of visits, and the glass and frames match across the elevation instead of drifting through three product generations. The sequence runs from the top of the slope down so the roof is closed each evening. Where one unit has already misted, the others glazed on the same day are usually within a couple of years of the same fate, and a second scaffold costs more than the units.
A finished loft room needs a different approach because there is plaster, paint and often fitted furniture below the opening. The work is done from outside wherever it can be: the covering back, the flashings off, the frame out through the roof, the new one in from above. Done that way a like-for-like swap leaves the internal lining and decoration completely alone. The internal reveal is only opened where the opening size changes or where insulation behind the plasterboard is found to be missing, and if that is likely the survey says so in advance. Floors are protected, the room is sheeted, and the loft hatch is closed and sealed while any cutting happens.
Putting a new opening into a roof is notifiable work, and so is replacing a unit in most circumstances. Several parts of the regulations touch it.
The notification is submitted, the inspections are booked, and the completion certificate comes back to the homeowner in their name. Keep it: it is the paperwork a buyer's solicitor asks for, and finding it missing at the point of sale is a much worse problem than dealing with it now.
Most rooflights in a house go in under permitted development, which means no planning application. The limits are specific, and the one people trip over is the projection: an alteration to the roof of a house must not project more than 150mm beyond the plane of the existing roof slope. That single figure is why an in-plane roof window is almost always permitted development and why a bulky kerb-mounted unit on a pitched slope may not be. The alteration also must not be higher than the highest part of the existing roof.
Side-facing roof windows in a room formed in the roof have an extra condition: obscure glazing, and non-opening unless the opening part is more than 1.7 metres above the floor of the room.
Flats and maisonettes have no permitted development rights for roof alterations at all, so an application is needed regardless of size. Article 4 directions remove rights street by street, and Gloucester and Cheltenham both have areas covered by them. The local planning authority is the only body that can confirm the position for a specific address, so a written confirmation or a lawful development certificate before work starts is worth the modest fee, particularly if a sale is anywhere on the horizon.
Gloucestershire has an unusual concentration of both, and the two are not the same thing. Conservation area status controls what the outside of a building looks like and often removes permitted development rights through an Article 4 direction. Listing protects the whole building, inside and out, and covers alterations that nobody outside will ever see.
In a conservation area the pattern is fairly consistent. A unit on a road-facing slope is usually resisted. A conservation rooflight on a rear or hidden slope is commonly accepted, with conditions: a slim cast frame with a central glazing bar, a black or dark finish, set flush or nearly flush, sized modestly, and lined up with the openings already on the elevation rather than placed where the room would prefer. Matched reclaimed slate for the surrounding courses is a normal condition on a stone roof.
On a listed building, listed building consent is required for anything affecting character, and that includes the internal reveal, the loss of historic riven battens, and the removal of mortar torching. Do this the sensible way round: pre-application advice from the conservation officer, with photographs of the roof and a note of exactly what is proposed, before anybody orders a unit. Officers in this county have seen a great many rooflight proposals and will usually say early on what would be acceptable, which is far cheaper than a refusal after the scaffold is up.
Water on the room side of the glass is not water getting in. Warm air holds moisture, a house generates plenty of it from cooking, showers and drying clothes indoors, and that air rises. The coldest surface in a loft room is the glass overhead, so the glass is where the moisture lands first. On a cold clear morning a roof window can run with condensation while every other surface in the room is dry, and that is physics working correctly.
Three things control it. A vent flap or trickle vent in the head of the unit gives continuous background ventilation, which is the one most often left closed by the occupants. Purge ventilation, which means opening the unit properly for a few minutes, clears a humid room faster than anything else. And the reveal geometry set out earlier: a horizontal lining under the window lets warm air from a radiator wash straight up the glass, while a splayed cill traps a pocket of still cold air against it and guarantees a wet sill.
The roof structure has a part too. There should be a continuous ventilation path from eaves to ridge with a clear 25mm air gap above the insulation between the rafters. Forming an opening can block that path if insulation is pushed up tight against the sarking, creating a cold spot in the roof directly above the new window. Keeping the gap open, and taping the vapour control layer to the frame so warm air is not driven into the construction, is part of the reveal detail rather than an extra.
Where a unit is above a stairwell or a two-storey space, an electric opener with a rain sensor is the practical answer, because a vent nobody can reach is a vent nobody uses.
No figures are published on this site, and the reason is straightforward: a conservation rooflight into diminishing courses of stone slate on a Painswick cottage with hand-carried scaffold, and a narrow roof window between two trusses on a Quedgeley semi with a driveway to park on, are not the same job at any price. A published figure would be wrong for both.
What actually drives it:
Then two figures, in this order. First an indicative range by email, based on photographs of the roof outside and the room inside, the covering, a rough size and the address. It is free, it takes a day or two, and it exists so nobody spends an afternoon on a survey for a project that was never going to work financially. Second, after a survey, a fixed price, itemised so it is clear what is unit, what is labour, what is scaffold and what is Building Control. That figure holds unless the scope changes at the customer's request, or unless something structural is uncovered that was documented as a risk in the survey notes beforehand. The costs page sets out the process in more detail.
Severn works within thirty miles by road of Gloucester, which covers the city and its suburbs, Cheltenham and the villages around it, Stroud and the valleys, Tewkesbury and the vale, the Cotswold villages east to Cirencester and Northleach, the Forest of Dean, and south through Yate and Thornbury towards the Bristol fringe. Ledbury, the Malverns and the Newent area sit inside it to the north. Town by town coverage is on the areas pages.
To start, email info@severnskylightsgloucester.co.uk or use the form on this page. Four things make the first reply genuinely useful: a photograph of the roof from the garden or the street, a photograph of the room from inside, what the covering is if you know, and roughly where you would like the daylight to land. An address helps, because on a Gloucestershire roof the covering and the conservation status are often obvious from the postcode.
From there it is the range by email, then a survey at a time that suits, then the fixed price, then a date. The written guides at guides cover individual questions in more depth, and about explains how the company works and what the fifteen years have been spent on.
Fill in what you can. It opens WhatsApp with the message ready to send.